A defender can look disciplined in a stance drill and still lose the first step. The feet are set. The body is low. But when the attacker changes pace, the defender needs an extra adjustment before moving.
My priority is a position the player can move from. Coach the response to the attack, then judge whether the stance helped the player contain it.
A stance must serve the next action
A lower position is useful when it gives the player control. It becomes a problem when the player sinks so far that the hips, feet, and trunk cannot reorganize in time. Do not reward depth for its own sake.
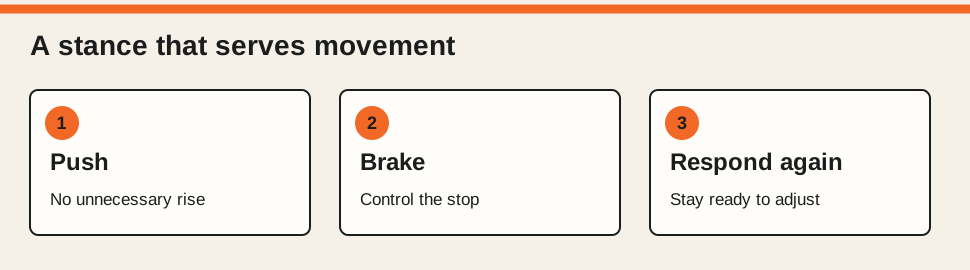
Keep enough bend through the ankles, knees, and hips to push and brake. The feet need room to adjust without becoming so wide that the player struggles to recover. The trunk stays controlled while the eyes gather information.
Watch for weight falling onto the heels, an upright recovery before the first step, or feet planted too far apart. Those are practical reasons to change the position. There is no single stance height that fits every player and every matchup.
Ready feet, not a permanent tiptoe position
An active forefoot can support a quick push. That does not mean holding the heels as high as possible or bouncing continuously. Players must be able to accept force, stop, and push again.
Heel contact changes with movement and loading. Coach the player's ability to respond and stay in control rather than demanding the same foot position throughout the possession.
Balance and mobility belong together. A player who moves quickly but cannot brake is no better prepared for the next change of direction.
Read the attack before chasing the ball
Use three reads: the attacker's hip and trunk movement, the placement of the first attacking step, and the space the attacker can actually use.
A shoulder fake may suggest one direction while the attacker's base remains ready to go the other way. A live dribble, a gathered ball, and a player who has not yet dribbled present different threats. The defender must recognize the situation.
Do not teach players to ignore the ball. Teach them to keep the ball within their visual field while reading the opponent and protecting the route to the basket.
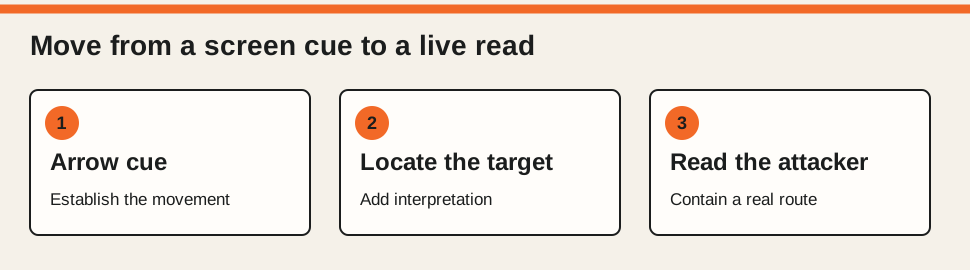
Practice 1. Establish the response with REACT CRT
Place a vertical phone where the defender can see it without looking at the floor. Display one arrow at a time and agree on the corresponding movement before starting. Use a clear area with enough room to brake safely.
Begin with a short lateral push and a controlled stop. The next arrow gives the next direction. Choose an interval that lets the player finish the movement and regain control before the following cue.
Keep two teaching points: move without an unnecessary rise, and finish balanced enough to respond again. The player is learning the movement rule here, not yet reading an opponent.
Practice 2. Add interpretation and court location
Give the cue a location to find. For example, place the REACT targets around the working area and ask the player to locate the matching letter before moving toward it. Explain the mapping and rehearse it slowly first.
The screen and the destination are separate. Now the player has to recognize the symbol, locate the target, and move with control. Adjust the spacing to the athlete's ability; do not turn every response into a long sprint.
Record a wrong target separately from a loss of balance. They call for different corrections. Add either a new mapping or more movement pressure, then check the response before increasing another demand.
Practice 3. Let the attacker supply the information
Move into a live containment task. Give an attacker a defined starting area and two realistic driving routes. The defender protects the basket and reacts to the attacker's movement rather than waiting for a screen cue.
Begin with limited space and controlled speed. Open the task as the defender learns to push, brake, and recover. Use a turn and run when the situation demands it; do not insist on sliding after the attacker has already gained an angle.
Watch the first response, the recovery, and the finish of the possession. Did the defender contain the route without reaching or fouling? Did an unnecessary adjustment give away the advantage?
Correct one breakdown at a time
If the defender reads the route but cannot move, coach the push and body position. If the player moves well but commits to every fake, revisit the read. If the first response is good and the recovery fails, coach the stop and the next step.
Give a specific correction, replay the situation, and check the next attempt. Shouting for more effort does not identify which part failed.
Use short rounds with enough recovery to preserve movement quality. Fatigue can be a later constraint. It should not hide a rule the player has not understood.
Judge the work against a player
REACT CRT lets a coach control the cue, timing, and movement demand. A screen arrow does not reproduce an attacker's deception or a teammate's help position. It prepares a part of the task.
Return to live defense and see whether the player needs fewer preparation steps, contains the drive more often, and recovers with control. Check again in a later practice. Improvement in the cue drill alone does not establish improvement in defensive play.
The question is simple: when the attack changes, is the defender ready to move?
Set It Up in REACT CRT
Use these as starting settings for the exercises in this article. Place the phone vertically at eye level and show one cue at a time. Teach the response rule before starting. Give the player enough time to complete the action and reset; increase the interval or shorten the work period when needed. Enter the shown set name and symbols, then use Min Pace, Max Pace, Work Time, and Break Time as displayed below. Min Pace and Max Pace use the same value to keep the cue interval from the original exercise. Save the settings and repeat the exercise for the number of sets listed below the screen.
Example 1. Lateral push and controlled stop
Pace (Second)
- Min Pace
- 4
- Max Pace
- 4
- Work Time
- 40
- Break Time
- 20
Repeat: 4 sets.
Player response: Make a short defensive push in the arrow direction and brake in balance. Keep the head up and avoid an unnecessary rise before moving.
Progression: Move to three seconds per cue only when the player can finish each stop ready to move again. Reduce the work period if movement quality deteriorates.
Example 2. Decode the letter, locate the destination
Pace (Second)
- Min Pace
- 5
- Max Pace
- 5
- Work Time
- 40
- Break Time
- 20
Repeat: 4 sets.
Player response: Place three kit targets at distinct locations within a short working area. Read the letter, locate the matching target, move toward it, and stop under control.
Progression: Add C and T while keeping the same timing and short distances. Track wrong targets separately from balance errors. Finish with an attacker supplying the movement information.
Continue the REACT CRT Series
From Predictable Reps to Decisions: Build a Variable Practice