We coach basketball. The ball has to go in.
We are not coaching a sport called dribbling or passing. We are coaching basketball. Those skills create opportunities, but somebody still has to put a relatively large ball through a relatively small rim. Shooting deserves planned teaching time.
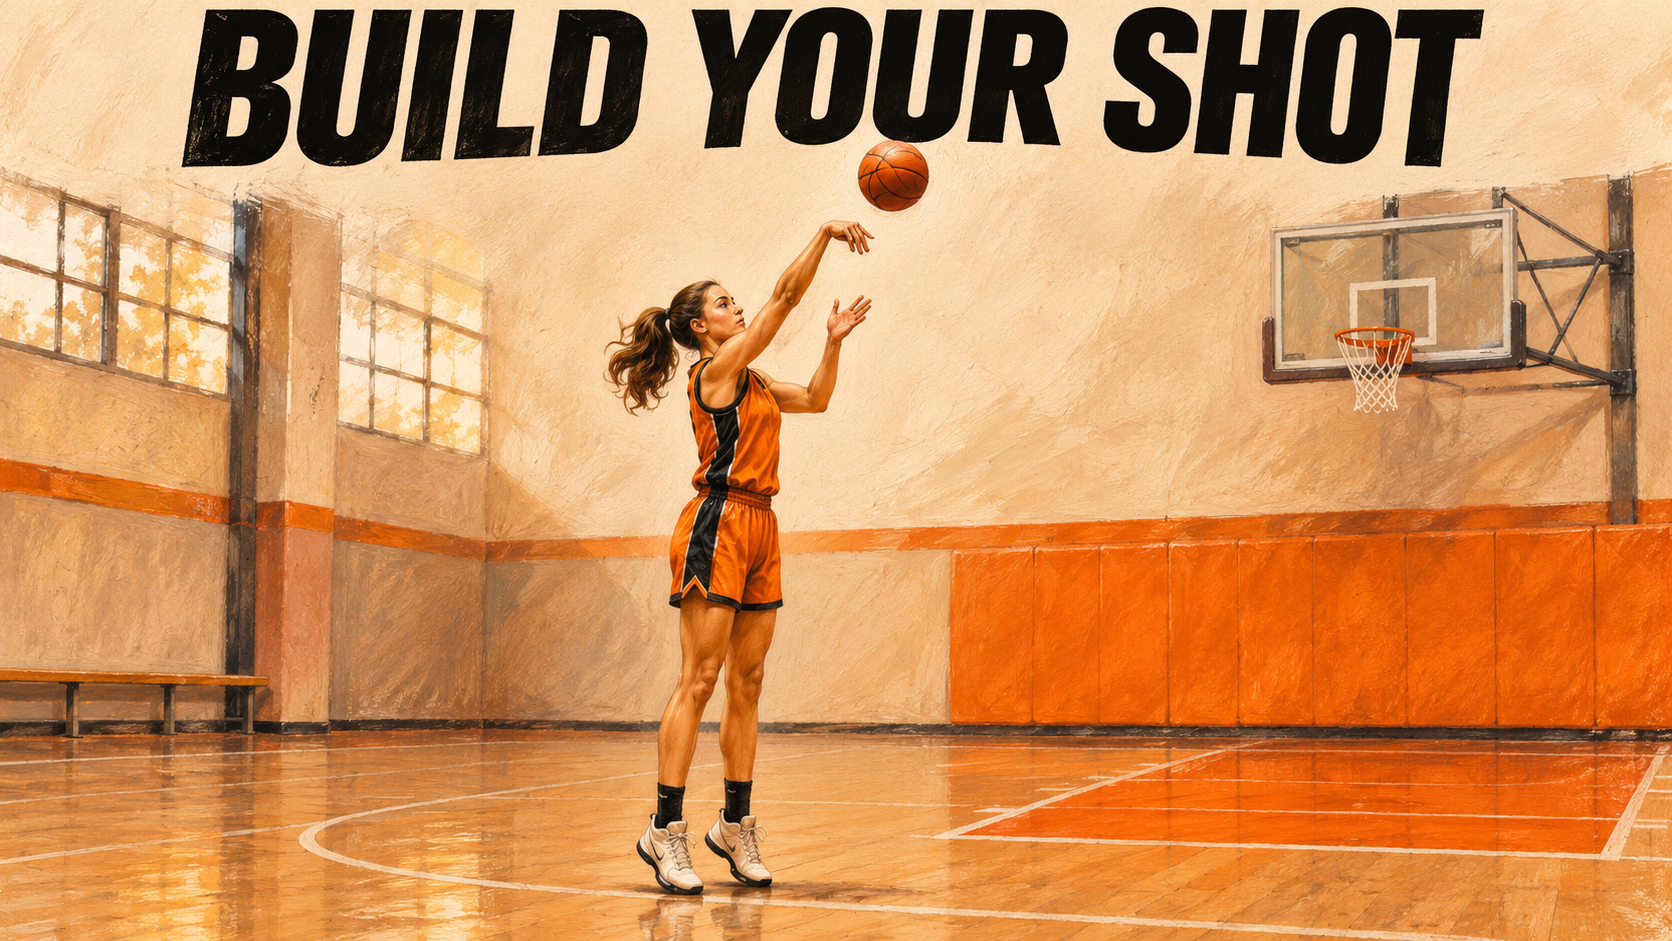
The set shot provides a foundation for the jump shot and an important part of learning the free throw. Start teaching it when you start teaching basketball, with the task matched to the player’s ability and purpose.
My practice recommendation is a focused teaching block of 5 to 15 minutes, followed by about 10 minutes to rehearse the components. Give the player a clear task rather than a pile of instructions.
Touch means the right force at the right time
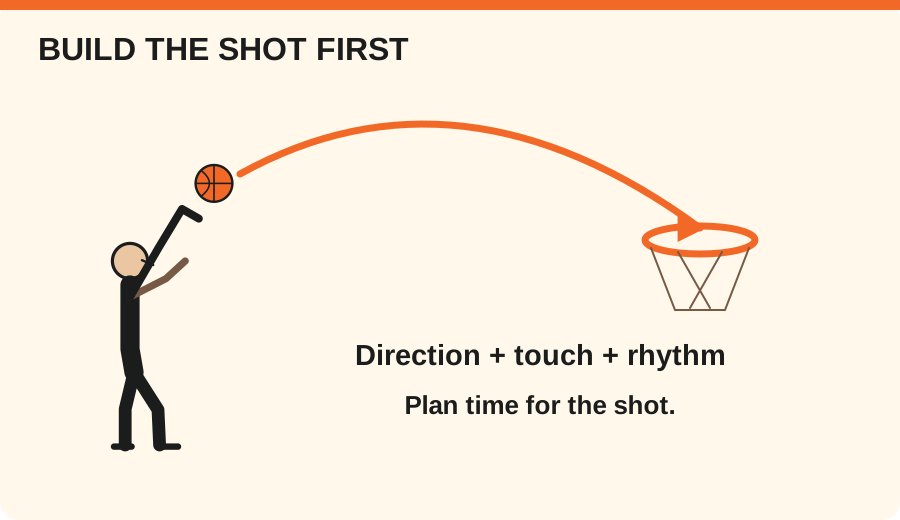
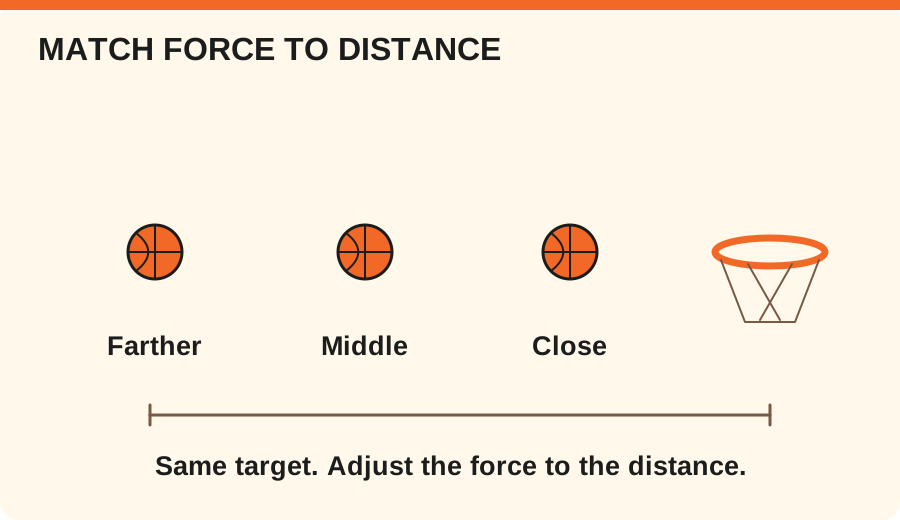
Shooting is not a contest to hit the ball harder. The player needs enough force to reach the basket, but that force has to match the distance and desired arc. More effort does not automatically create more accuracy.
By touch, I mean the ability to connect force, movement control, rhythm, distance, and arc. We teach it through attentive repetition. The player feels the release, sees the result, and makes a useful adjustment.
Start with the hands
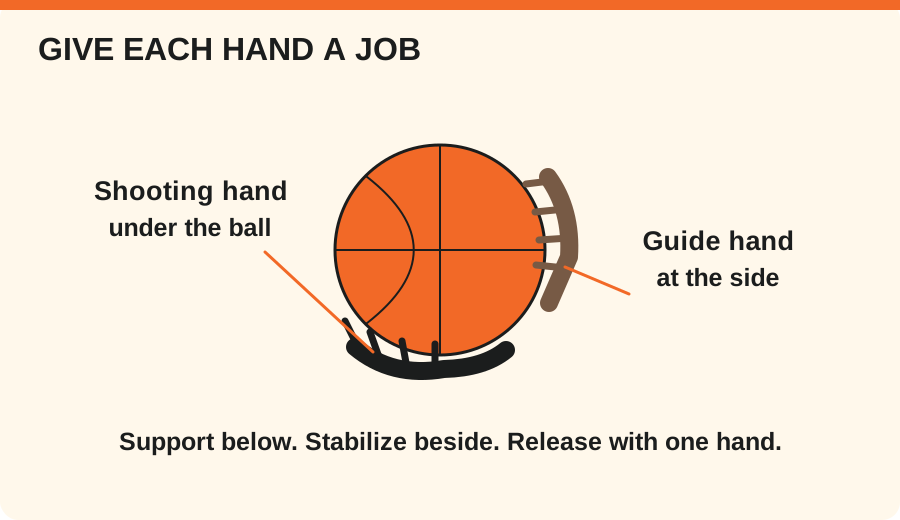
Imagine the ball as a cube. The shooting hand supports the lower face. The guide hand supports the lower part of the side face. This image helps players understand that the hands have different jobs.
The guide hand keeps the ball stable as it is prepared for the shot. The shooting hand delivers it. Avoid turning the support hand into a second source of forward force.
In my teaching model, the index finger provides a clear direction toward the basket and finishes the action. Use that cue to organize the release, then check whether the ball is actually leaving the hand consistently.
Square up and organize the shooting line
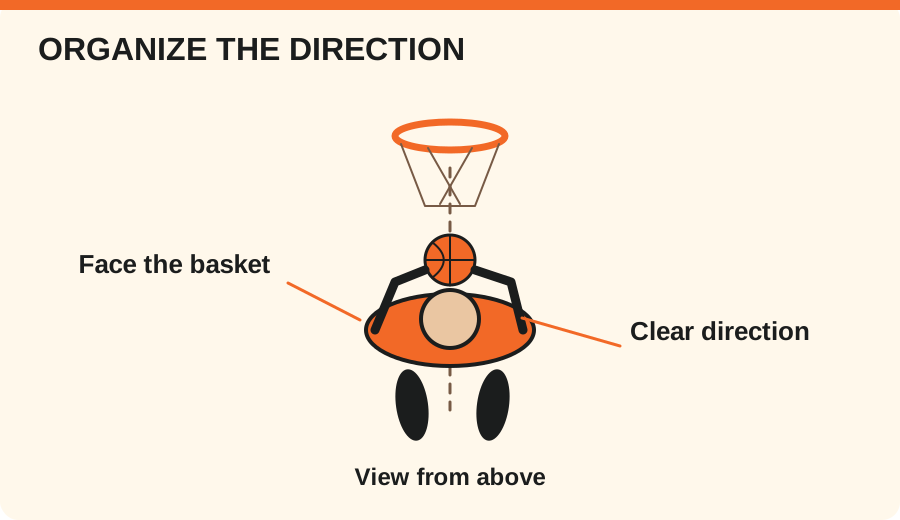
Bring the front of the body toward the basket so the movement has a clear direction. The shooting elbow leads toward the target from the preparation phase. Let the elbow and finishing finger organize one repeatable line.
Do not try to fix every part of the player at once. If the release keeps drifting sideways, check how the ball is loaded, where the elbow leads, and what the guide hand does. Give one correction, then watch another short set.
Send the movement upward
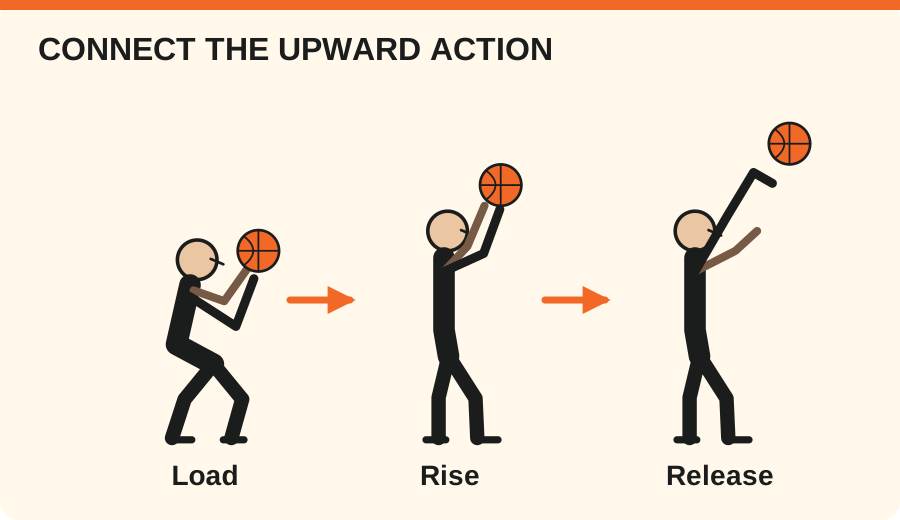
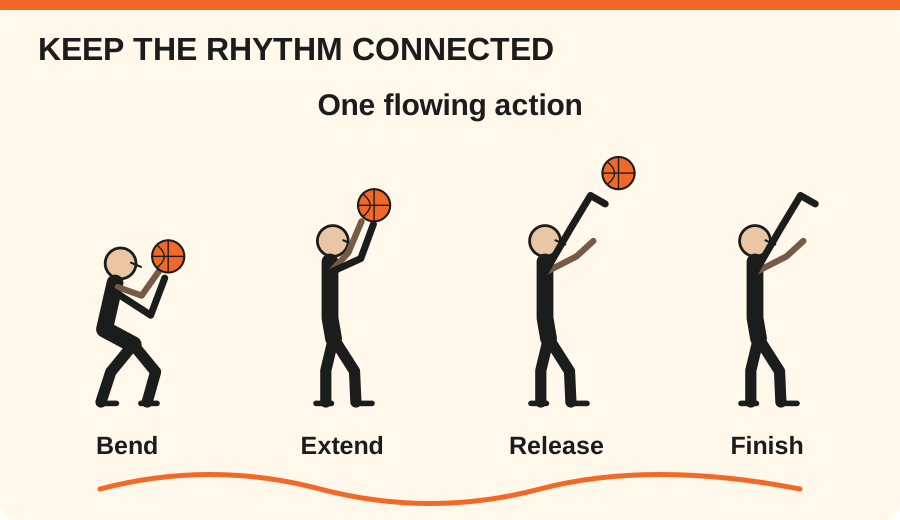
The shot uses a connected chain through the legs, body, arm, and hand. Bend and extend so the ball travels upward through the release. The arm should not have to rescue a movement that has lost its lower body support.
Keep the target visible with both eyes. Do not organize the ball in a way that blocks the player’s view of the basket. The player needs to see the target while controlling the movement.
A set shot is a useful place to learn this sequence. When the player can repeat it, connect the same principles to a catch, foot preparation, and eventually a game situation.
Aim through the center of the rim
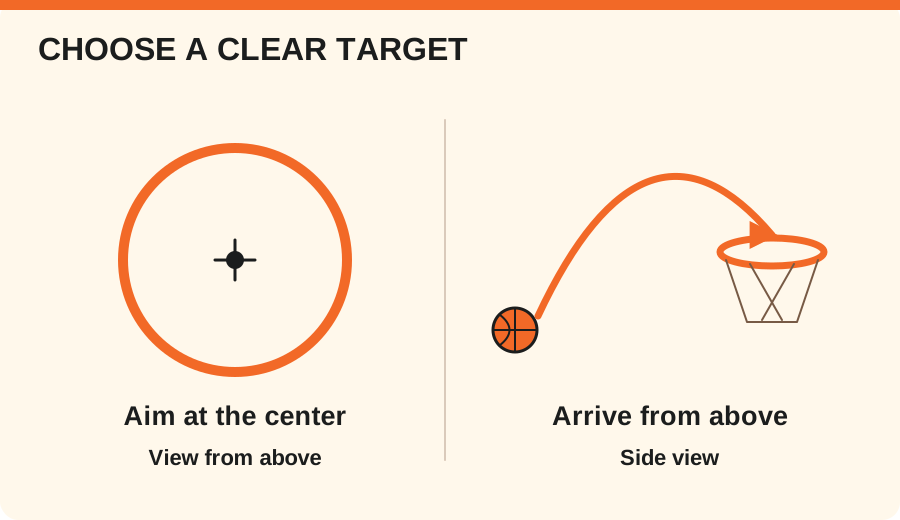
My target is a virtual point in the center of the rim. The aim is a clean shot through that center. The reference stays in the same place as the player changes angle around the basket.
Give the ball enough arc to approach the rim from above. A flat shot reduces the useful entry window. The goal is a controllable flight that fits the distance, not simply the highest arc possible.
A consistent release also produces controlled backspin. Observe the flight and the bounce, but do not let a conversation about spin replace work on direction, force, and rhythm.
Rhythm ties the details together
A player can show you each position and still struggle to shoot. The missing part may be the timing between those positions. The knee bend, upward drive, arm extension, and release need to become one flowing action.
Listen to the rhythm of the movement and look for unnecessary stops. Does the ball pause while the body keeps moving? Do the legs finish before the arm begins? Can the player repeat the same comfortable sequence?
Teach the details inside the rhythm. A technically careful repetition that freezes at every checkpoint is an intermediate teaching tool, not the final shot.
Four areas for focused practice
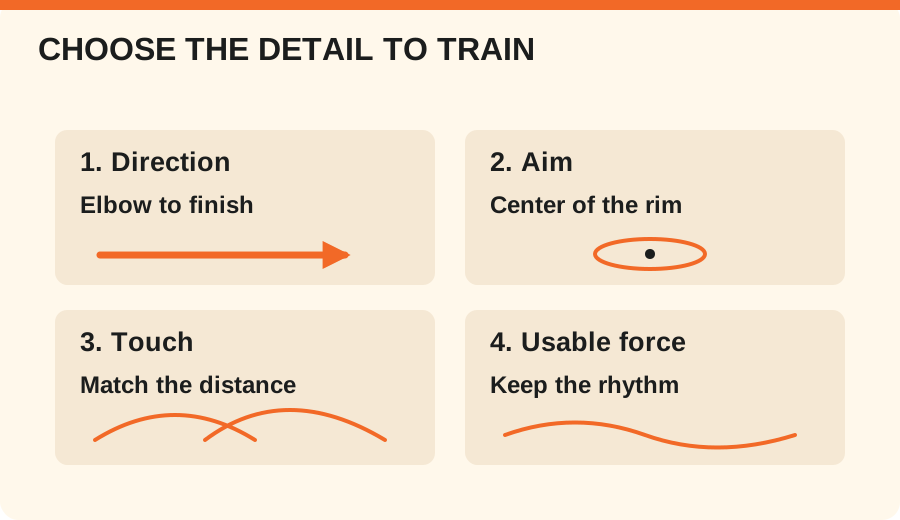
Organize the work around four linked areas: guiding the shot, aiming, developing touch, and building strength specific to shooting. Each area should help the player produce a repeatable shot.
Guiding the shot means connecting the elbow’s path to the finishing finger. Aiming means using the same clear center target. Touch means adjusting force and arc with awareness. Specific strength means supplying the shot with enough usable force while keeping control.
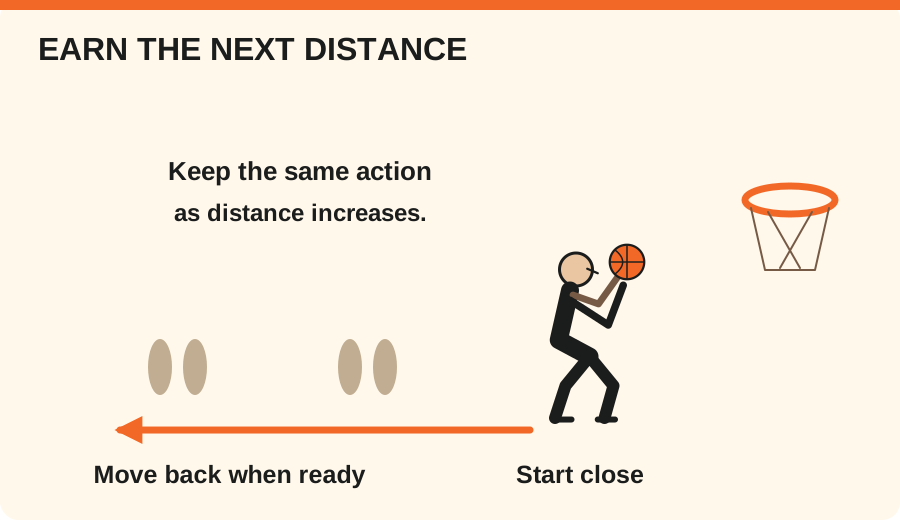
General strength can support the athlete. The basketball task is to turn it into a smooth upward action that fits the shot. If distance destroys the rhythm, bring the player closer and rebuild before moving back.
A practical way to use the teaching
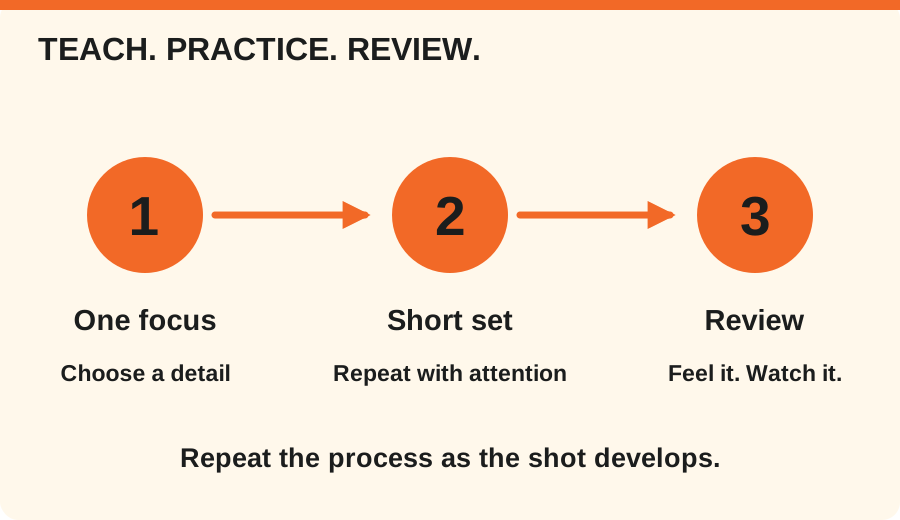
Begin close enough that the player can keep the intended movement. Choose one focus, shoot a short set, and review the pattern. Ask what the player felt as well as where the ball went.
When the action becomes reliable, change the distance slightly and keep the same purpose. Later add a pass and foot preparation. Finish by testing whether the player can recognize a useful shooting opportunity.
This practice sequence is a coaching application of the article’s principles. It connects deliberate technical work to the live basketball situations discussed in Your Shooting Drill Should Look Like Basketball.
Teach the shot, then keep developing it
Shooting touch does not appear because we explained it once. It grows through regular work with attention to the result and the movement that produced it.
Protect time for the shot in every practice. Teach a manageable detail, keep the rhythm, and develop the right amount of force for the task. A useful shooting foundation is one the player can build on.
Next stage: shooting with REACT CRT
After the shooting action is reliable, connect it to changing visual information. This related practice from the REACT CRT channel adds a reaction demand to shooting. Use it as a progression after the set shot foundation, rather than as a demonstration of the basic mechanics.
“Make each day your masterpiece.”